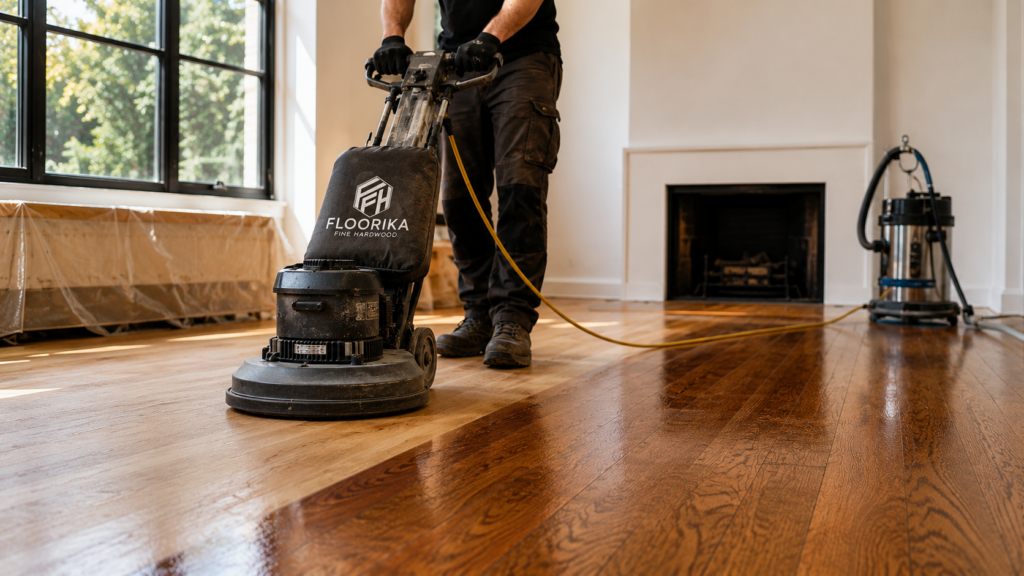
Most homeowners put off refinishing hardwood floors because they can’t picture what the process entails or what to expect in terms of timeline and disruption. During refinishing, expect daily noise from sanding machinery and other equipment, as well as noticeable dust, even when dust-control systems are in use. Certain rooms or entire sections of the home may be off-limits, and walking through work zones is usually not recommended.
It’s important to plan for pets and sensitive electronics: keep pets away from work areas, since dust and fumes can be harmful to them, and cover or temporarily move electronics to protect them from dust. Whether you need to leave depends on your tolerance for noise and odors, as well as your household schedule. Some families find it manageable to stay home, while others prefer to vacate for a few days, especially if the whole apartment is being done at once.
This article aims to demystify the refinishing process, providing you with a clear understanding of what lies ahead.
Refinishing vs. Recoating: Understanding the Difference
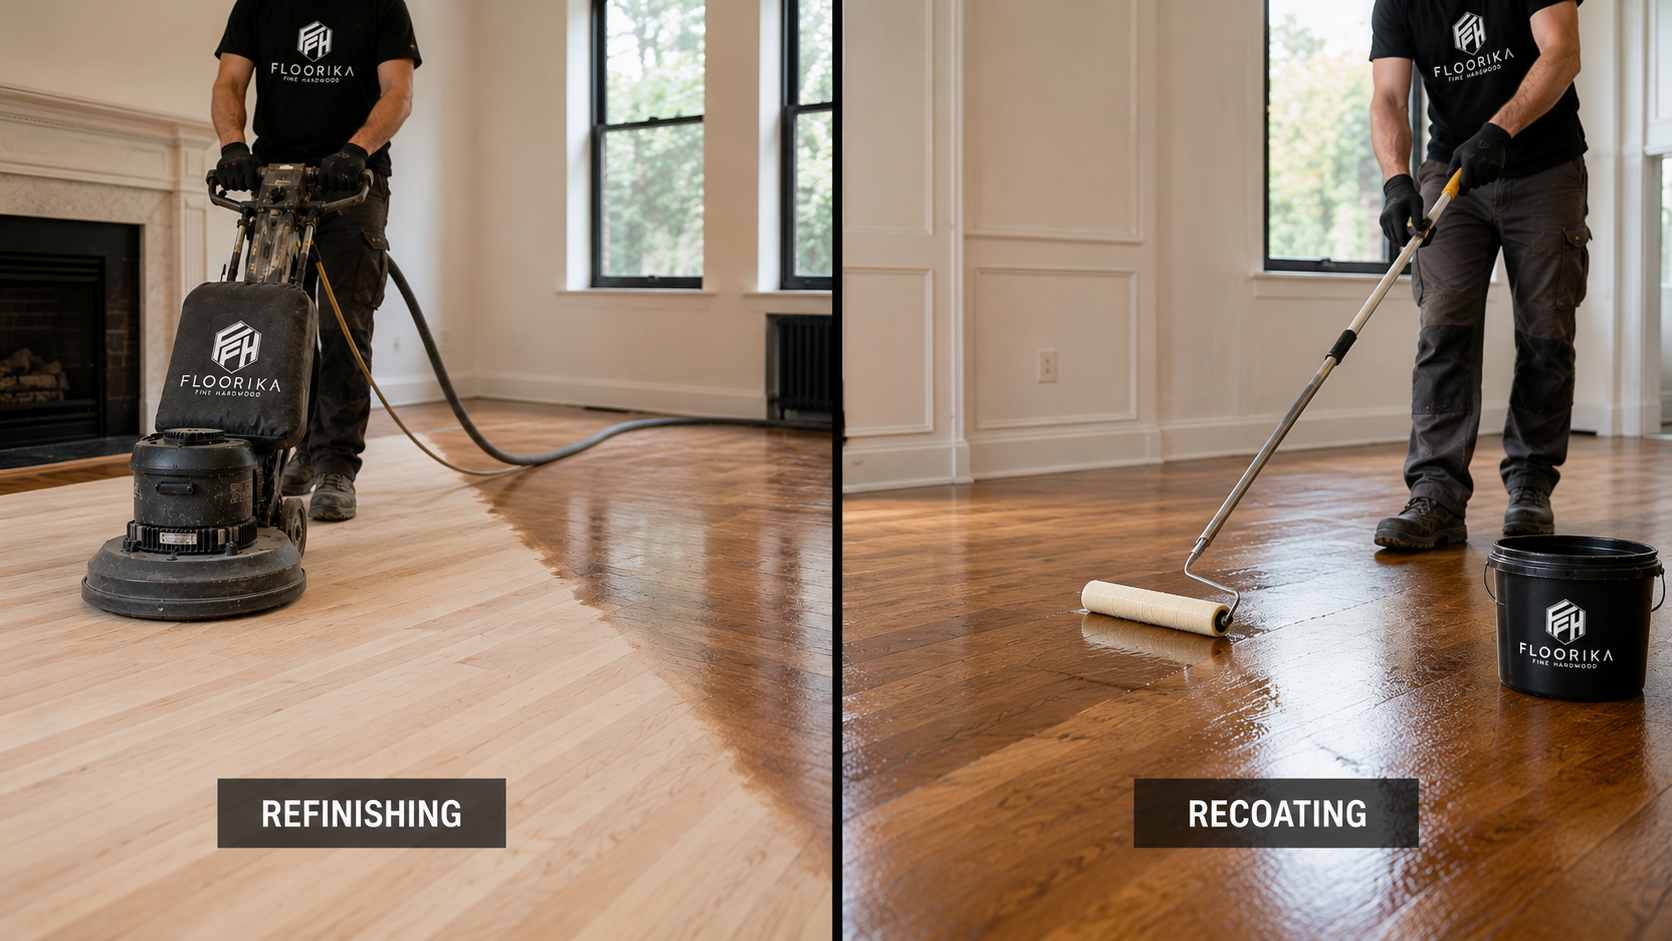
Recoating is a simpler method that involves putting a new layer of finish over the existing one without sanding down to the bare wood. This process works well when your current finish is just looking dull or slightly worn, but the wood itself is in good shape. It tends to be quicker and more cost-effective, but for it to work, the existing finish must be clean and in good condition.
On the other side, refinishing is a more detailed process. It involves completely removing the old finish through sanding, repairing any damage, and applying a new stain if you want one. This option is necessary for floors with deep scratches or severe discoloration.
Hardwood floor refinishing takes about 3 to 7 days to complete. The process transforms worn floors through preparation, sanding, staining (optional), and sealing. Familiarizing yourself with these stages will allow you to schedule your week effectively.
How to Prepare Before Help Arrives
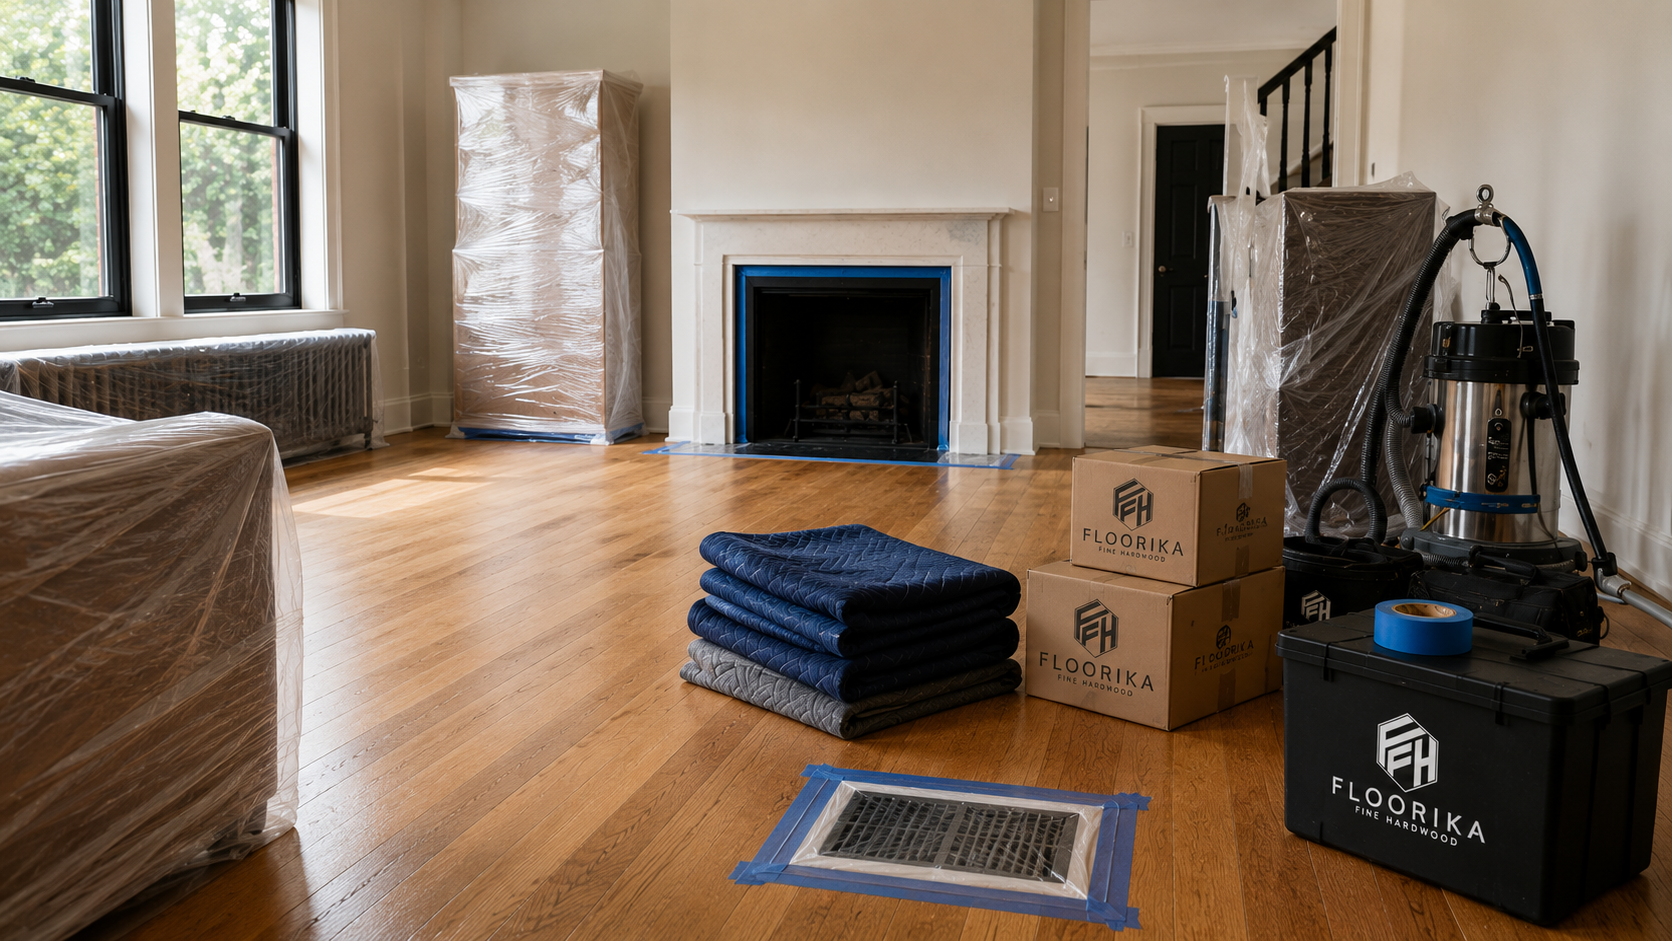
Preparation is key to making the process go smoothly.
First, pick your stain color in advance. Once the sanding begins, the process accelerates, and making changes mid-job can lead to unnecessary delays and additional costs.
Next, the space needs to be fully cleared, and the furniture needs to be completely off the floor. Also, be sure to cover your HVAC vents and, where possible, seal off adjacent rooms. If you’re in a co-op or condo, building insurance requirements and work-hour approval need to be sorted out before you book a service.
The Importance of Sanding
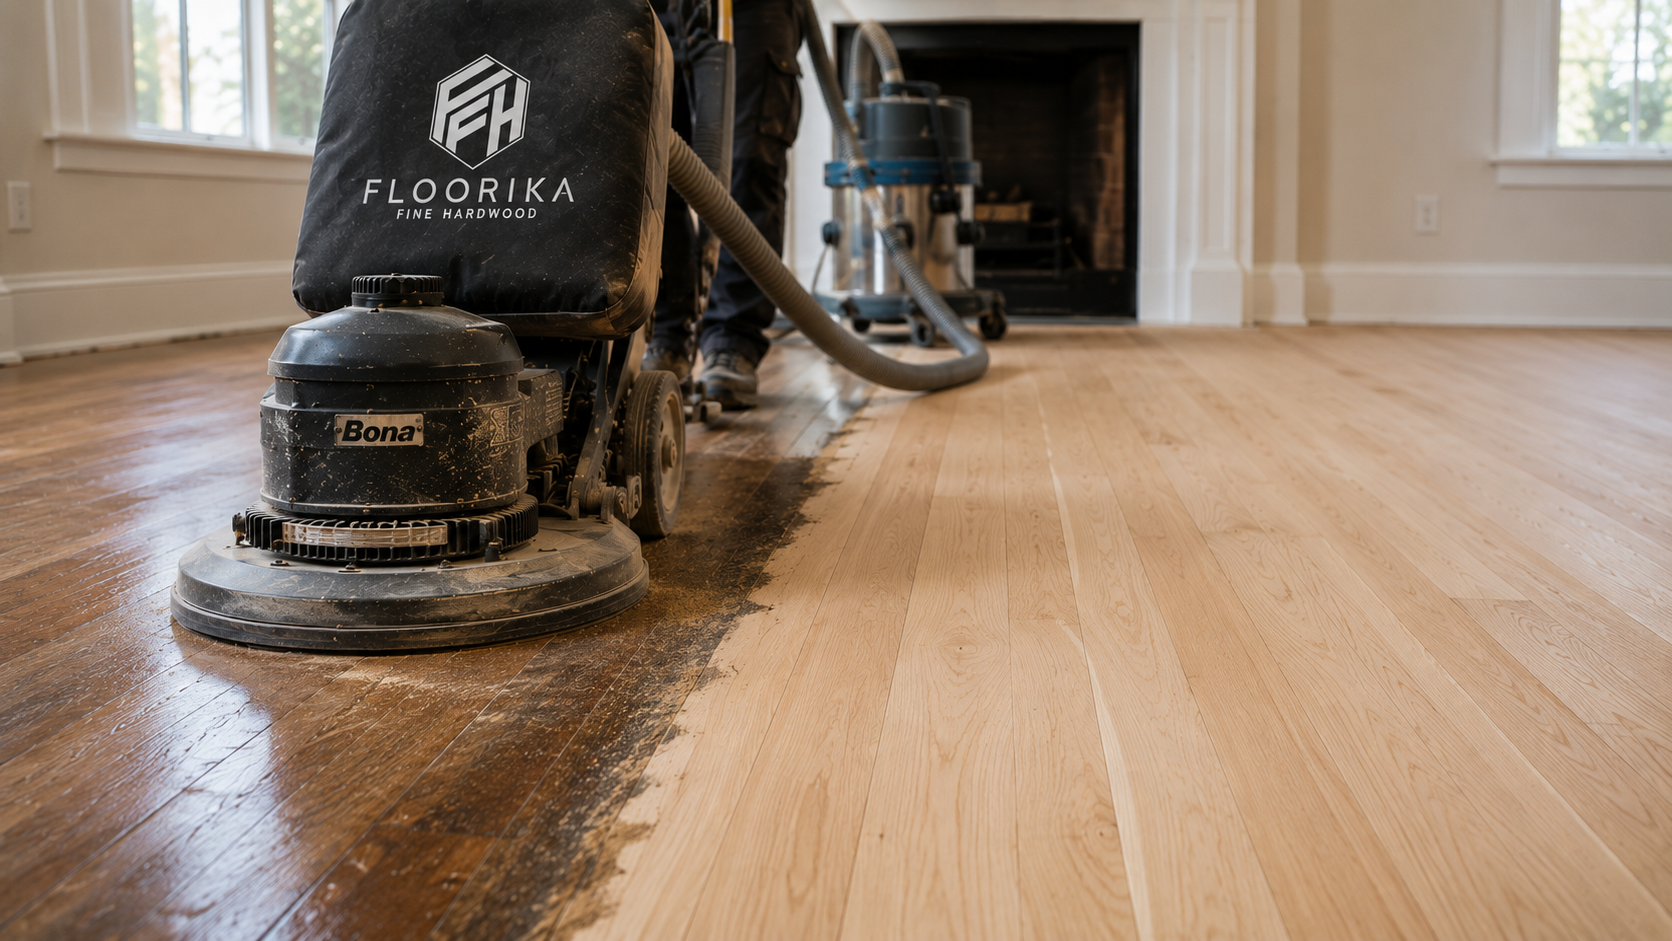
Sanding is a crucial step in refinishing, as it effectively removes old finishes, stains, and imperfections from the surface. A professional hardwood floor refinishing company utilizes specialized equipment and techniques to achieve consistent results while minimizing dust and disruption.
The process usually happens in stages, starting with a coarser grit to remove the existing finish and then moving to finer grits to smooth the floor. Edges, corners, and tight areas are handled separately so the entire floor has a consistent surface before staining or sealing begins.
Choosing Your Stain Color
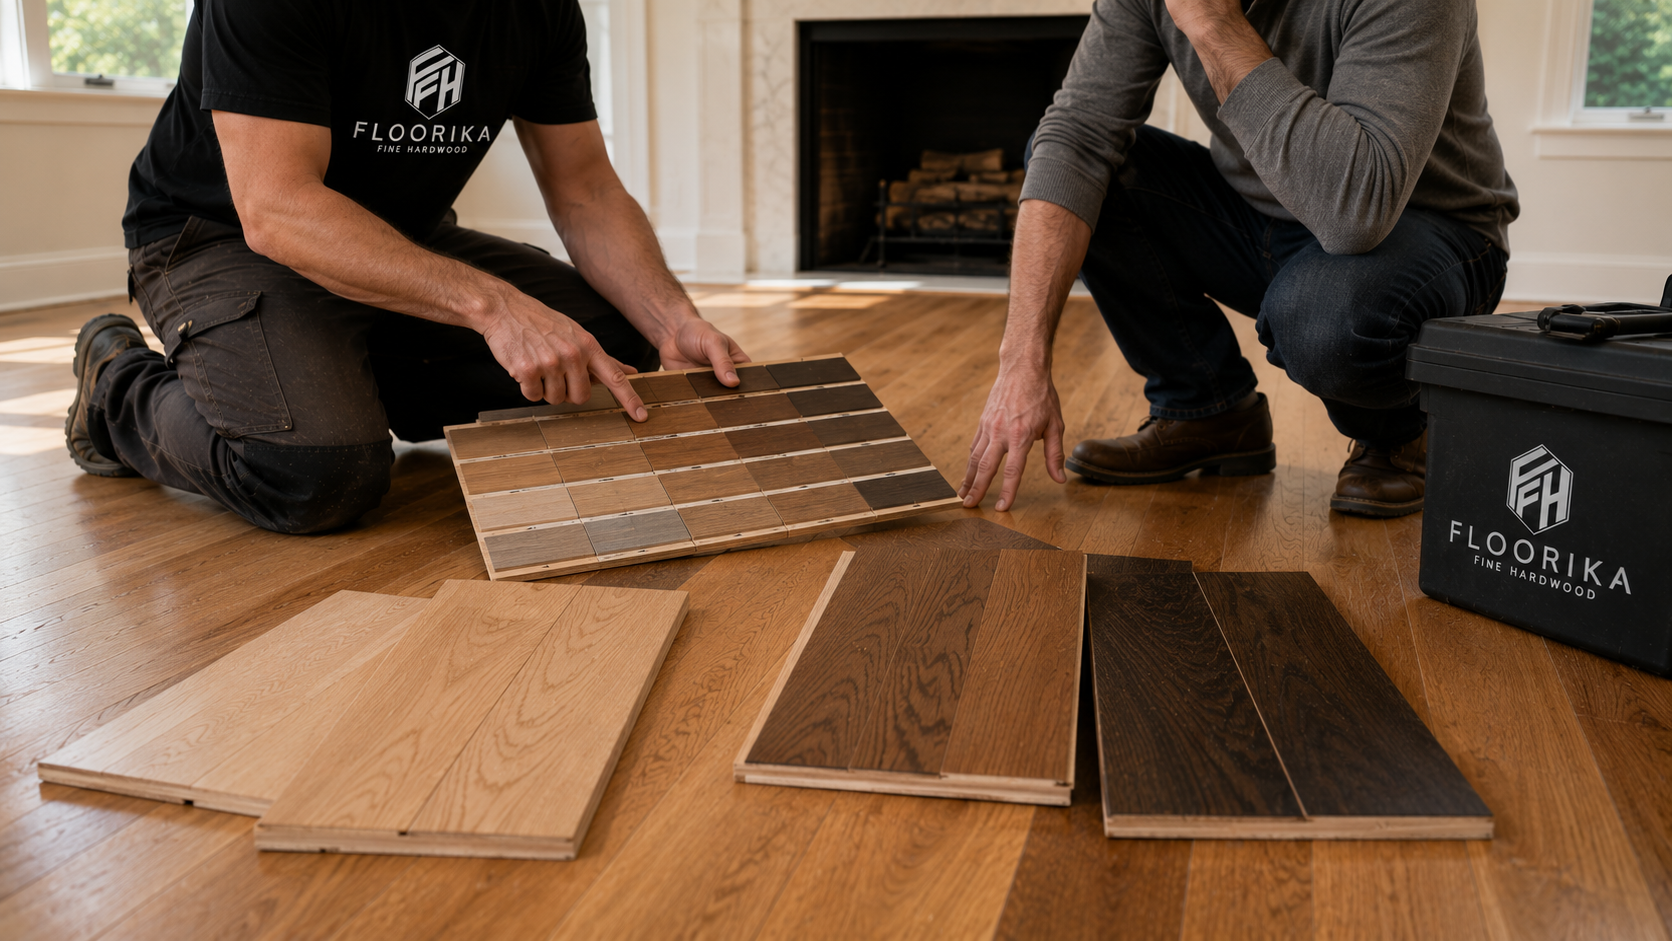
Picking a stain color can be a bit of a journey, so it’s important to finalize your choice before sanding begins.
Make sure to test stain samples on your actual flooring instead of just going by what you see in a showroom. The same stain can look totally different on different wood types and ages. For instance, a warm, medium-toned stain on a fresh white oak sample may appear very different on an old Douglas fir, given its unique features.
Currently, there is a noticeable shift toward natural European oak tones, characterized by medium warmth, alongside a preference for matte and ultra-matte finishes. The trend for gray floors seems to be tapering off as homeowners lean towards warmer, more timeless options that highlight the beauty of aged wood.
Three Coats of Finish and Why You Can’t Rush the Drying Time Between Them
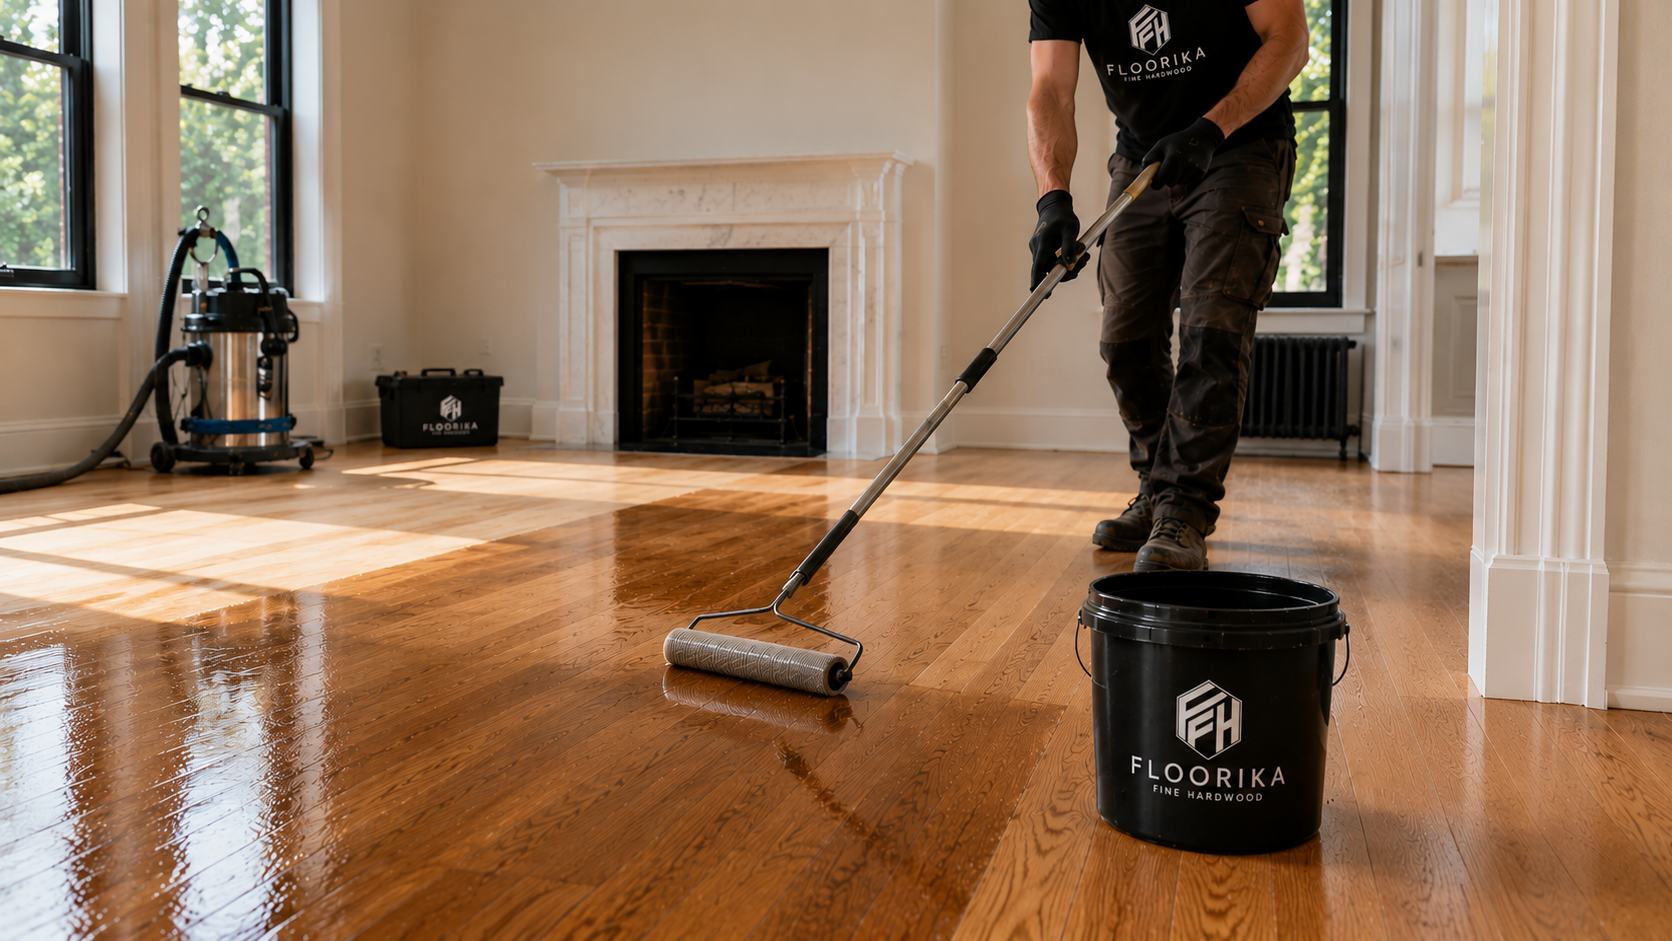
After staining, multiple coats of finish, typically three, are applied to the floor. Between each application, the surface is carefully screened to remove imperfections and ensure proper bonding with the next layer. This meticulous process enhances both the depth and durability of the finished floor.
Water-based finishes are popular because they dry quickly and produce much less odor. This can be especially helpful in places like NYC apartments, where ventilation may be limited. Oil-modified finishes, however, generally take longer to dry, need more airflow, and can produce strong fumes that sometimes require you to leave the space. Although these finishes can develop a richer look over time, a water-based finish is often the more sensible option for smaller areas.
It’s crucial to follow the recommended drying times between coats. Skipping this step may result in peeling or cloudiness, which could require you to redo the floor sooner than expected.
When Can You Walk on Newly Finished Floors?
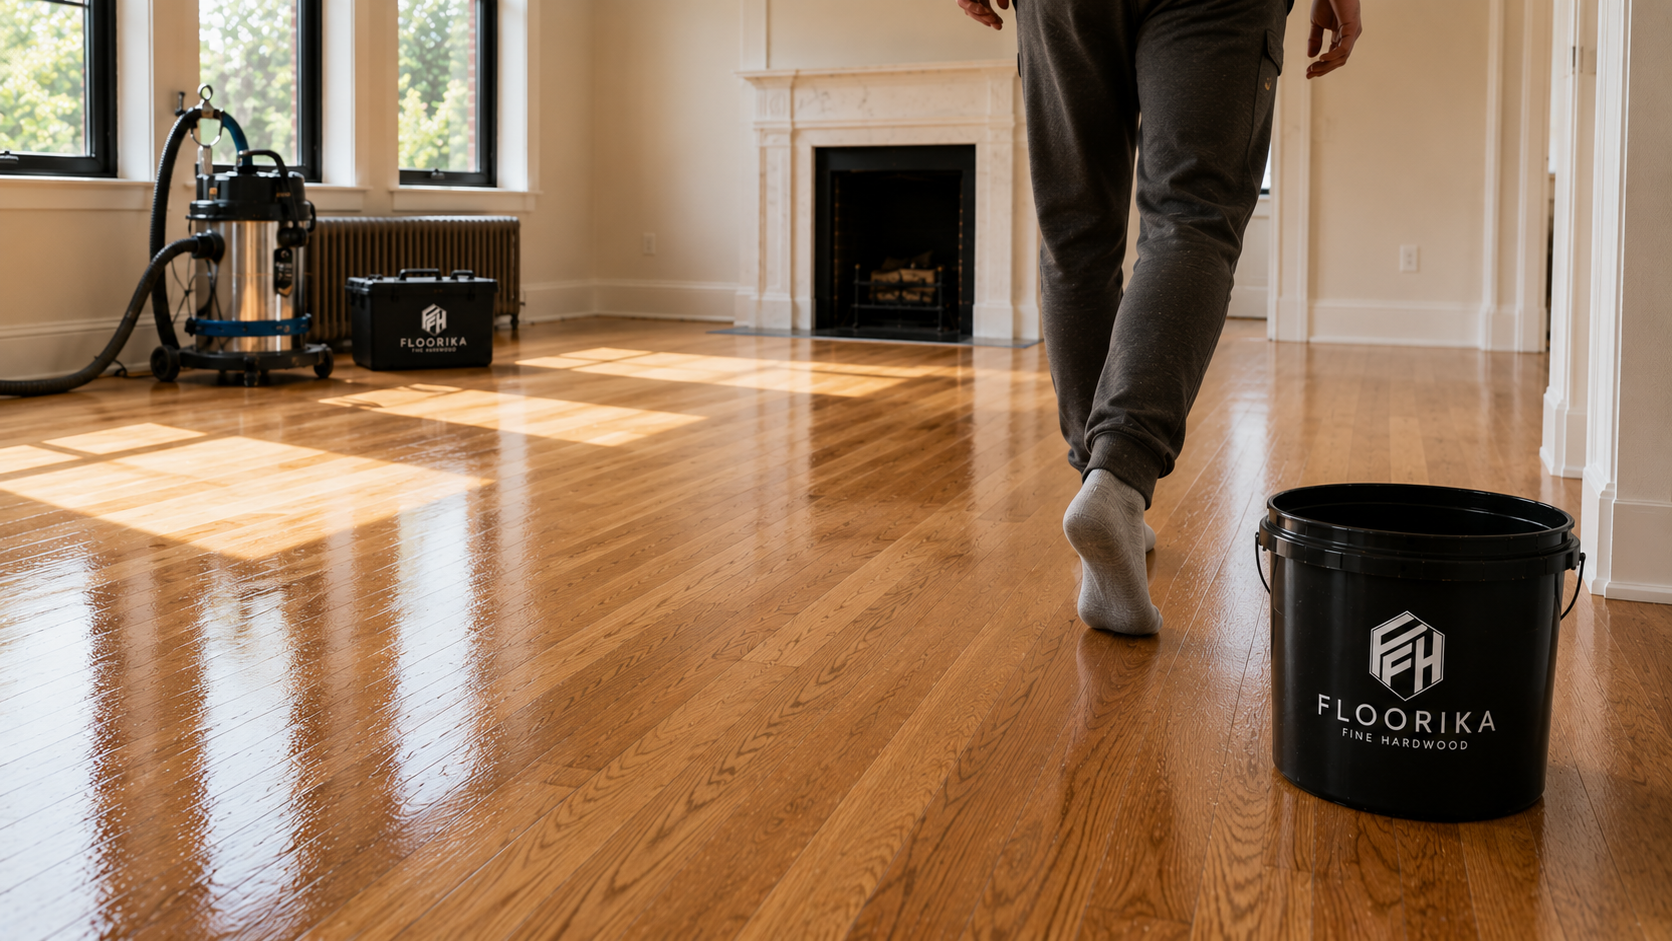
Understanding the timeline for your newly finished floors is crucial. Many homeowners mistakenly assume that once the finish is applied, the floors are immediately ready for use. Here’s what you need to know.
For water-based finishes, light foot traffic in socks is typically acceptable after about 24 hours. Oil-based finishes, on the other hand, require at least 48 hours before walking is recommended.
Once the initial curing time has passed, light furniture can generally be returned after 3 to 5 days. For heavier pieces, area rugs, or items with rubber backing, it’s best to wait a full two weeks. Allowing the necessary time for curing ensures the longevity of the finish.
Full curing typically takes around 30 days. During this period, the finish continues to harden at a molecular level. It is important to avoid wet mopping or placing moisture-trapping items against the floor during this time. For regular cleaning, use a soft broom or a microfiber dust mop to remove debris, and avoid harsh chemicals or abrasive pads. Once the floor is fully cured, stick to gentle, pH-neutral cleaners specifically designed for hardwood, and be sure to wipe up spills immediately to prevent staining. Following these simple routines will help you preserve the beauty and longevity of your newly finished floors.
A properly refinished floor should withstand 8 to 10 years of normal use before requiring attention again.
NYC Apartments Come With Specific Constraints
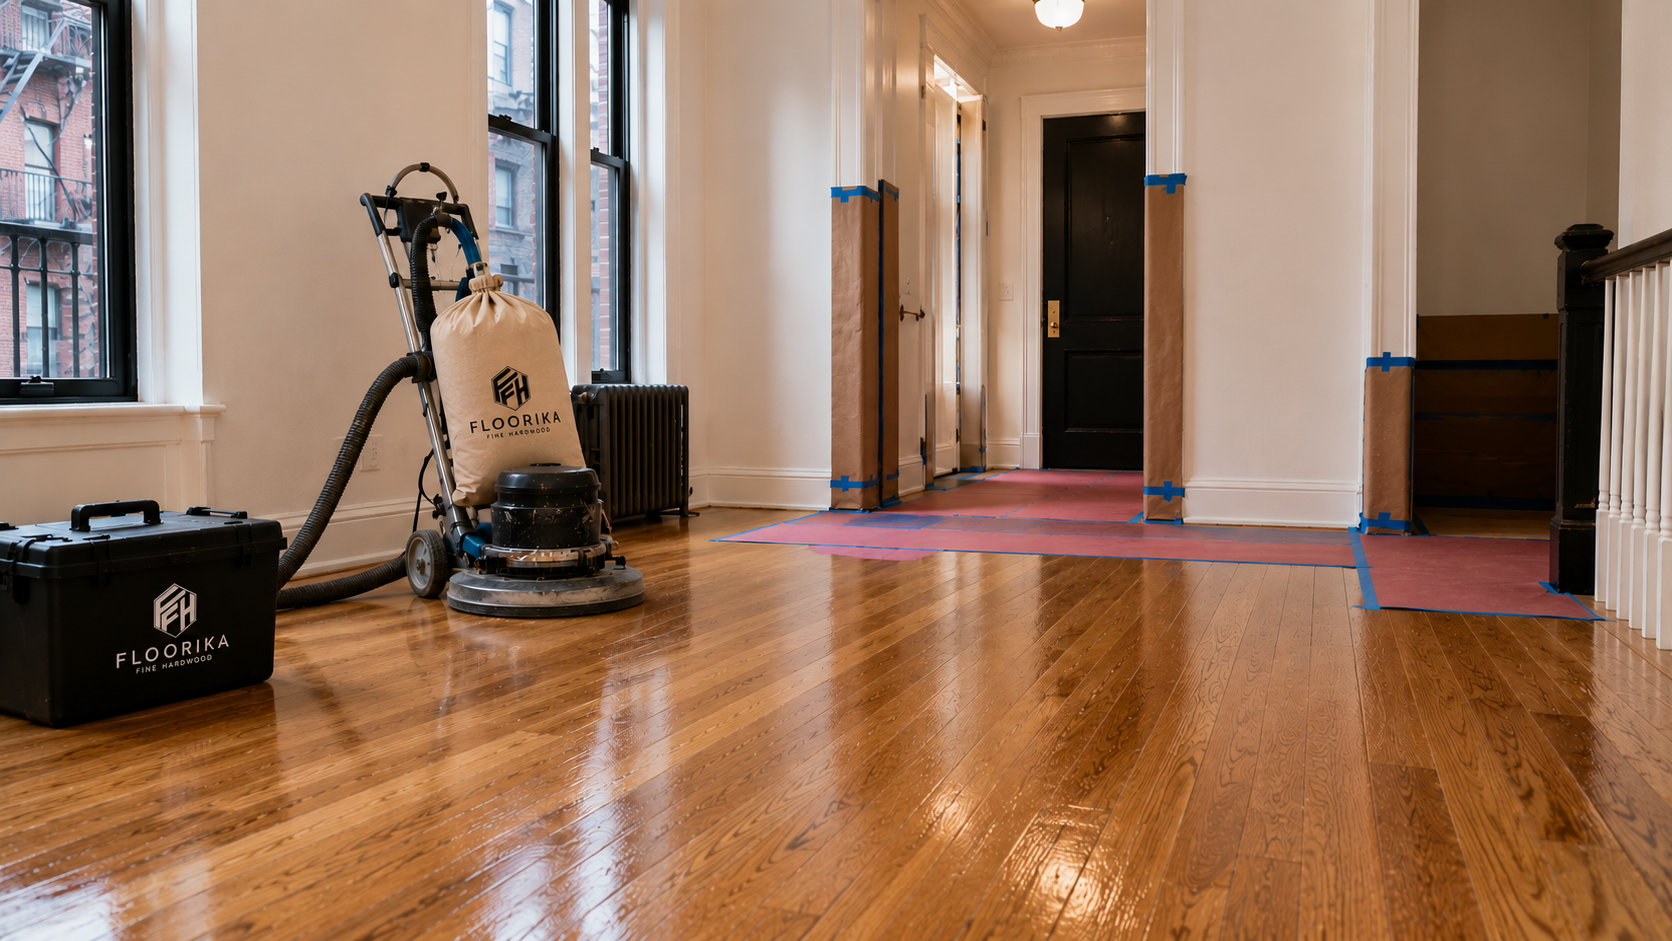
Working in New York City presents unique challenges when it comes to flooring projects. For instance, a brownstone in Park Slope is not the same as a co-op on the Upper West Side.
Co-ops and condos often impose various restrictions, including specific working hours, proof-of-insurance requirements, and regulations on noise and vibration, particularly related to drum sanding. It is essential to confirm these details with building management prior to scheduling any work.
Ventilation in apartments tends to be more limited compared to standalone homes, making the choice of finish even more critical. The fumes from oil-based finishes can be overpowering in a sealed apartment, which is why many families choose to vacate during refinishing and remain away for at least 24 hours after the final coat. Water-based finishes are generally less disruptive, making them a popular option for in-unit NYC projects.
Book a Refinishing Assessment With Floorika Fine Hardwood

At Floorika Fine Hardwood, located in the South Slope of Brooklyn, we offer in-house refinishing assessments. Our techniques are designed to be gentle and non-aggressive, ensuring we extend the life of your floor rather than wearing it down.
Most projects benefit from a complimentary on-site walkthrough, during which we assess the floor’s condition, review your options, and provide a clear scope of work along with a realistic timeline. During this visit, we also provide a detailed cost estimate based on the specific needs of your space. This way, you will know what to expect in terms of pricing before any work begins.
Schedule your refinishing assessment today, and we’ll tell you exactly what your floor needs.