Hardwood floors are strong and beautiful, but they do wear out over time. Scratches from shoes, furniture, or pets can make the surface rough and dull. Hardwood floor sanding removes the old top layer of wood and smooths the surface. This lets you add a new finish so the floor looks like new.
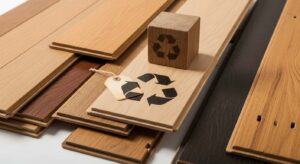
Hardwood floor resanding is also useful if you want to change the color of your floor. Once the old finish is gone, you can stain the wood a different shade before sealing it..
Why Sand Hardwood Floors?
Hardwood floors are strong and beautiful, but they do wear out over time. Scratches from shoes, furniture, or pets can make the surface rough and dull. Hardwood floor sanding removes the old top layer of wood and smooths the surface. This lets you add a new finish so the floor looks like new.
Hardwood floor resanding is also useful if you want to change the color of your floor. Once the old finish is gone, you can stain the wood a different shade before sealing it.
What You Need Before You Start Hardwood Sanding
Before sanding, make sure you have everything ready. Here are the basic tools and items you will need:
- Drum sander or belt sander
- Edge sander or palm sander
- Sandpaper
- Vacuum and broom
- Floor buffer
- Dust mask and ear protection
- Plastic sheets and painter’s tape
- Wood filler
- Stain and finish
Make sure to rent or buy the right size sander for your floor. A drum sander is powerful but needs care to avoid gouging the wood. Edge sanders help reach corners and walls.
Steps To Sand Your Hardwood Floor
Step 1: Prepare the Room
Take out all furniture, rugs, and decor. Make sure the floor is clean. Use a broom and vacuum to remove dust and dirt.
Seal doorways and vents with plastic sheets and tape. This keeps dust from spreading around your home. Don’t forget to wear a dust mask and safety gear.
Check the floor for nails or staples sticking up. Use a hammer to drive them down. Fill any deep cracks or holes with wood filler and let it dry.
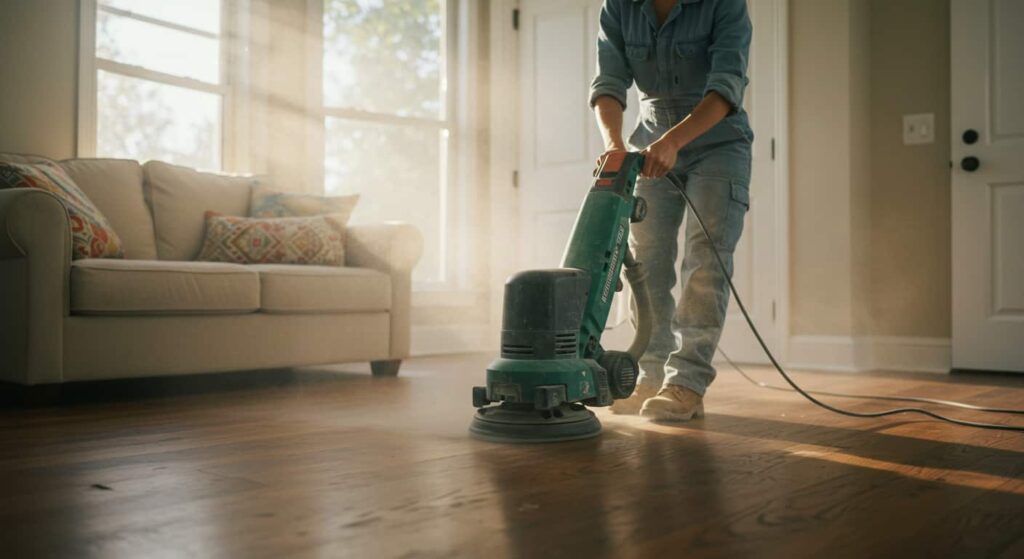
Step 2: Start with Coarse Sanding
Use coarse sandpaper (36-40 grit) for the first sanding pass. This removes the old finish and smooths out deep scratches.
Run the drum sander in the direction of the wood grain. Keep the sander moving to avoid leaving marks. For corners and edges, use an edge sander or hand sander with the same grit.
Vacuum the floor and wipe it with a damp cloth when you’re done with this step.
Step 3: Medium Sanding
Now switch to medium-grit sandpaper (60-80 grit). This step removes the rough marks left by the coarse sanding. Again, follow the wood grain and keep a steady pace.
Use the edge sander or hand sander for corners and tight spots. Vacuum and clean the floor when you finish.
Step 4: Fine Sanding
The final sanding pass uses fine-grit sandpaper (100-120 grit). This smooths the wood and gets it ready for finishing.
Make sure to cover the whole floor evenly. After this step, the surface should feel soft and even when you run your hand over it.
Step 5: Clean the Floor
Vacuum the entire floor very well. Even small dust particles can ruin the finish. Wipe the surface with a damp cloth or tack cloth to remove any leftover dust.
Let the floor dry completely before moving to the next step.
Step 6: Apply Stain
If you want to change the color of your floor, now is the time to stain it. Use a brush or cloth to apply the stain. Work in small sections and follow the grain of the wood.
Let the stain sit for the time listed on the product label. Then wipe off any extra stain and let the floor dry for 24 hours.
Step 7: Add Finish
Apply a clear finish to protect your hardwood floors. Choose between water-based or oil-based polyurethane.
- Water-based: dries faster, has less odor, but may need more coats
- Oil-based: lasts longer and gives a warm color, but takes longer to dry
Use a roller or brush to apply the finish in thin, even coats. Let each coat dry fully, then lightly sand with very fine grit (220) between coats. Most floors need two to three coats.
Step 8: Let It Cure
Once the final coat is dry, let the floor cure for a few days. Avoid placing furniture or rugs on the floor during this time. Follow the drying time listed on your finish can.
Also Read: How Much Does Hardwood Floor Refinishing Cost in Brooklyn?
Tips to Achieve the Best Results After Hardwood Floor Sanding
- Always test stain or finish on a small, hidden spot first.
- Keep pets and kids out of the room during sanding and finishing.
- Open windows and use fans for better airflow.
- Don’t rush. Each step takes time, but the results are worth it.
Get Expert Help For Hardwood Floor Sanding
If your wood floors are looking worn, scratched, or dull, it might be time for professional hardwood floor sanding. Floorika Fine Hardwood offers expert sanding services that restore the natural beauty of your floors. Our team uses advanced tools and dust-free techniques to ensure a smooth, even finish with minimal mess. Whether you’re renovating or refreshing old flooring, we deliver flawless results. Contact us today for a consultation and bring your hardwood floors back to life with expert care.